I tried to keep track by crossing off my students' names on the rosters or just getting a total count, but I still found it difficult to hold students accountable and to check for understanding. Those two things are what I've struggled with most during distance learning, so when this new tech tool didn't work the way I needed it to, I became frustrated. Then, the Jamboard gods answered my prayers and let the user upload a background. This was a GAME CHANGER!
With the ability to create or upload your own background, you can make interactive templates to suit your instructional needs.
Here is what I started doing for accountability and checking for understanding:
In Google Slides, I created a blank slide with enough spaces for the total number of students I have in each class. I have 26 in one and 30 in the other. To make these spaces, you go to the top toolbar> insert> table> 5x6, and then format.
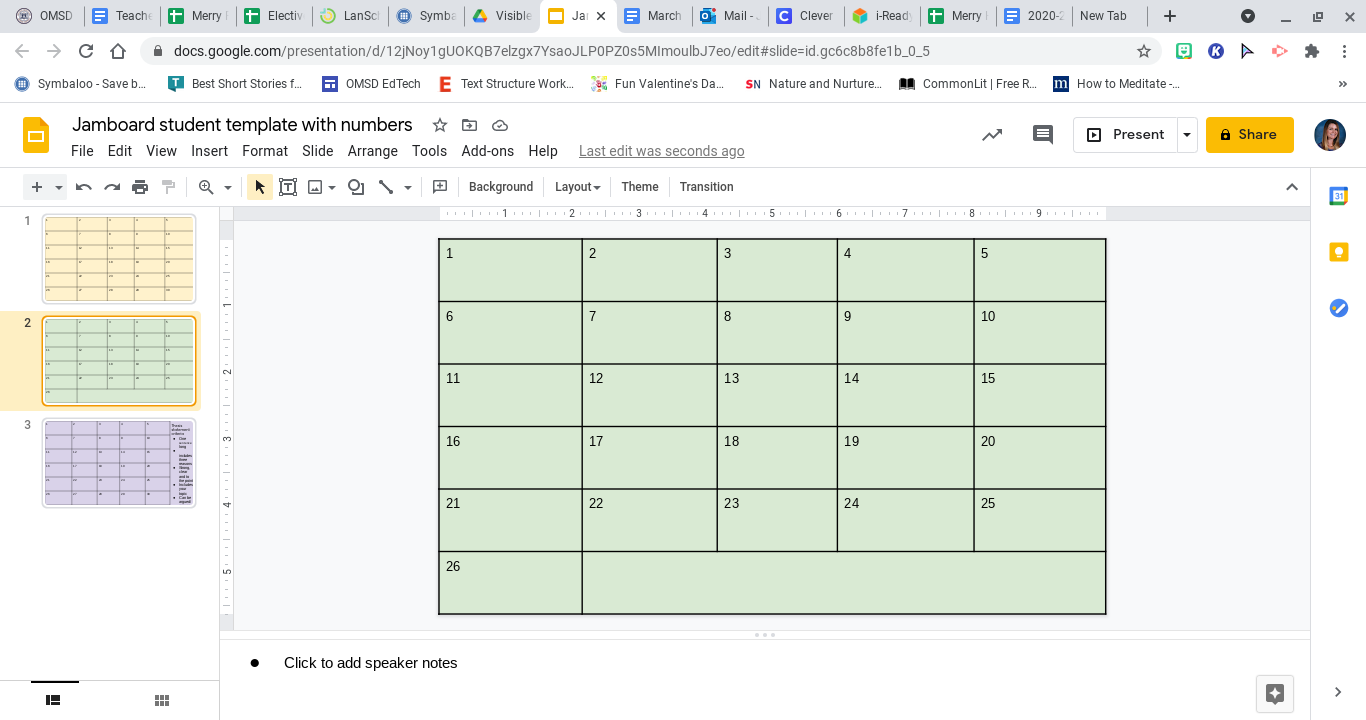
Then you can add the task instructions in the space on the bottom or the side of the slide. I find it easier to type out the task on slides rather than on Jamboard.
Next, you have to download the single slide onto your computer or into your Drive. To do this go to the top toolbar> file> download> JPEG image. If you are working on a laptop or desktop, the JPEG should download onto your files, and if you're using a Chromebook, then the JPEG will download into your Drive.
- Finally, you go to a new Jamboard and set the background. You'll see the original backgrounds, and then in the bottom right-hand corner, there will be a box with the image to the right. Click on that and upload your JPEG from your computer or

Drive.

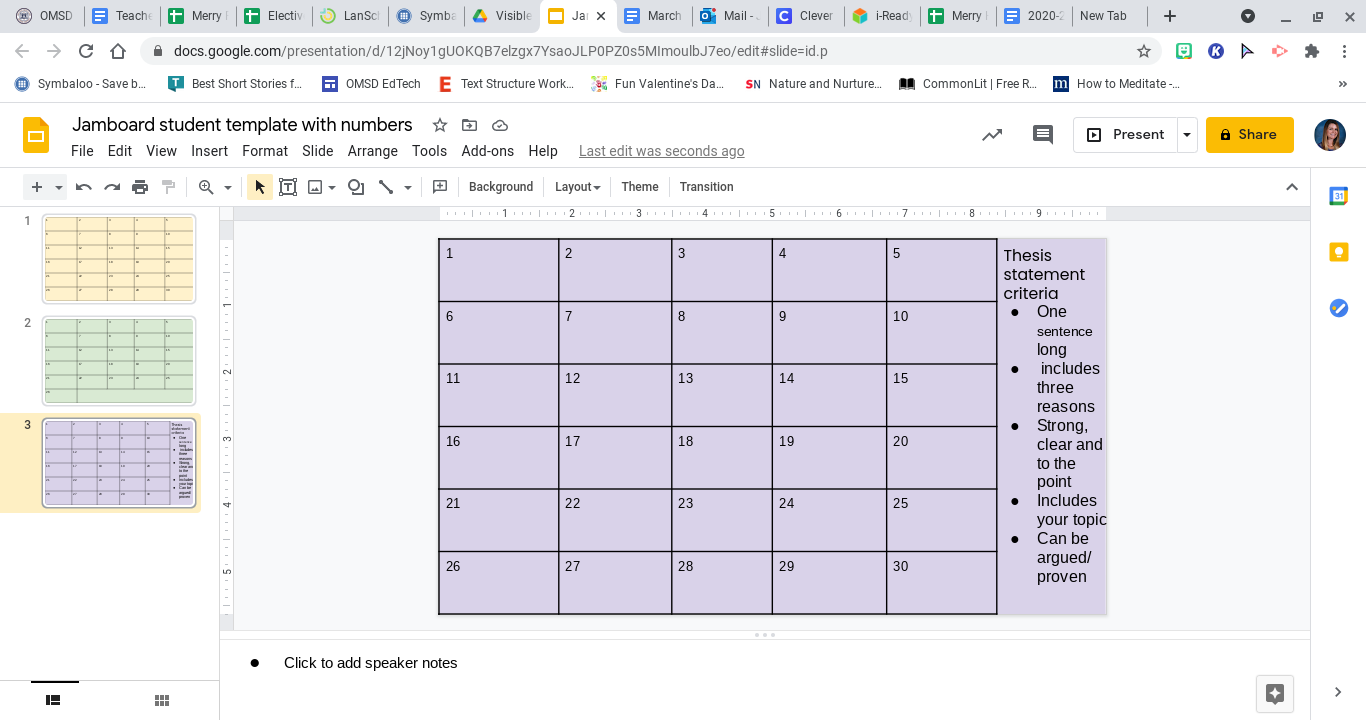
Once your interactive template is created, you can share the click with your students through Google Classroom or the chat. Below is an example of one I did with my 6th graders for the first draft of their thesis statements.

Students posted their thesis statements after researching a topic of their choice. As you can see, I can easily see who didn't participate right away and ask them to hang back during break or keep them in the main room while the rest of the students work in small group breakout rooms. I also can make each sticky note bigger to read their responses and check for understanding. This lesson took 10 minutes to plan and create and about 30 minutes to run through in the virtual setting.
Please let me know of any ideas you've tried out on Jamboard!
Jenni Merry


No comments:
Post a Comment